
This guide provides an overview of the Data Mapper feature, designed for internal team reference and external communication, such as marketing materials.
Core Capabilities of Data Mapper
- Multi-Sheet Support: The new feature allows users to upload and manage multiple master data sheets, addressing the limitation of the previous VMD feature which only supported a single sheet.
- API-First Approach: The primary method for uploading master data is through a dedicated API layer. The UI for setting rules is planned for later releases.
- Access and Reusability: Once uploaded, master data is stored at the organization level. This allows users to reuse the same master data sheets across multiple queues without re-uploading them. However, the rules for each queue are configured independently as the models may differ.
- Legacy VMD Compatibility: The existing VMD feature will continue to operate without being affected by thesechanges.
- User Permissions: Users must have the appropriate permissions enabled to interact with the Data Mapper. An error message will be displayed if a user without edit permission attempts to make changes.
How to Use Data Mappper?
Here are the steps to set up and use the Data Mapper feature
Upload Master Data Sheet
You can now upload multiple master data sheets. The current process for uploading sheets is through an API.
- Prepare your sheet. Your sheet can be in .xlsx, .json, or .csv format. It is limited to a maximum of 200,000 rows and 25 columns. The maximum file size is 350MB.
- Upload the sheet. Use the
/api/master-data/sheets/uploadendpoint to upload your sheet. You can upload one file at a time. You can upload up to 10 sheets per account. Once uploaded, the master data is stored at the account level and can be reused across multiple queues.
Define Mapping Logic
This is where you tell the system how to use your master data. The logic-setting is handled by the engineering team, as the UI for this feature is planned for a later version. You must communicate the desired logic to your project manager or customer support team.
- Set the Target Field. This is the final destination field in your document where the mapped value will be placed. You must specify the source column from your master sheet and the type of match to use.
- Add Other Checks (Optional). You can add up to seven "Other Checks" to refine your search. This allows the system to use values from other fields to infer and find the correct data.
- Choose Your Match Type. For both the Target Field and any additional checks, you can choose from different matching methods:
- Exact Match: The system will look for an exact, case-insensitive match.
- Fuzzy Match: Finds the nearest match and allows you to set a threshold for similarity. This is also referred to as "Best match".
- Semantic Match: Finds matches based on the meaning of the data. To use this, you must set the data type to 'Text' for that column in an optional data type row.
- Configure for Control. You must specify what happens when:
- Multiple matches are found. You can choose to either default the field to blank or use the first match found in the sheet.
- The system has an extracted value. You can choose to overwrite the extracted value with the mapped value or keep the extracted value.
Apply the Logic and View Results
After the logic has been configured, you can apply it to your queue.
- Enable the toggle. For the data mapping logic to work on a queue, you must enable the "Enable asking AI to fill in the best values" toggle under the automation settings.
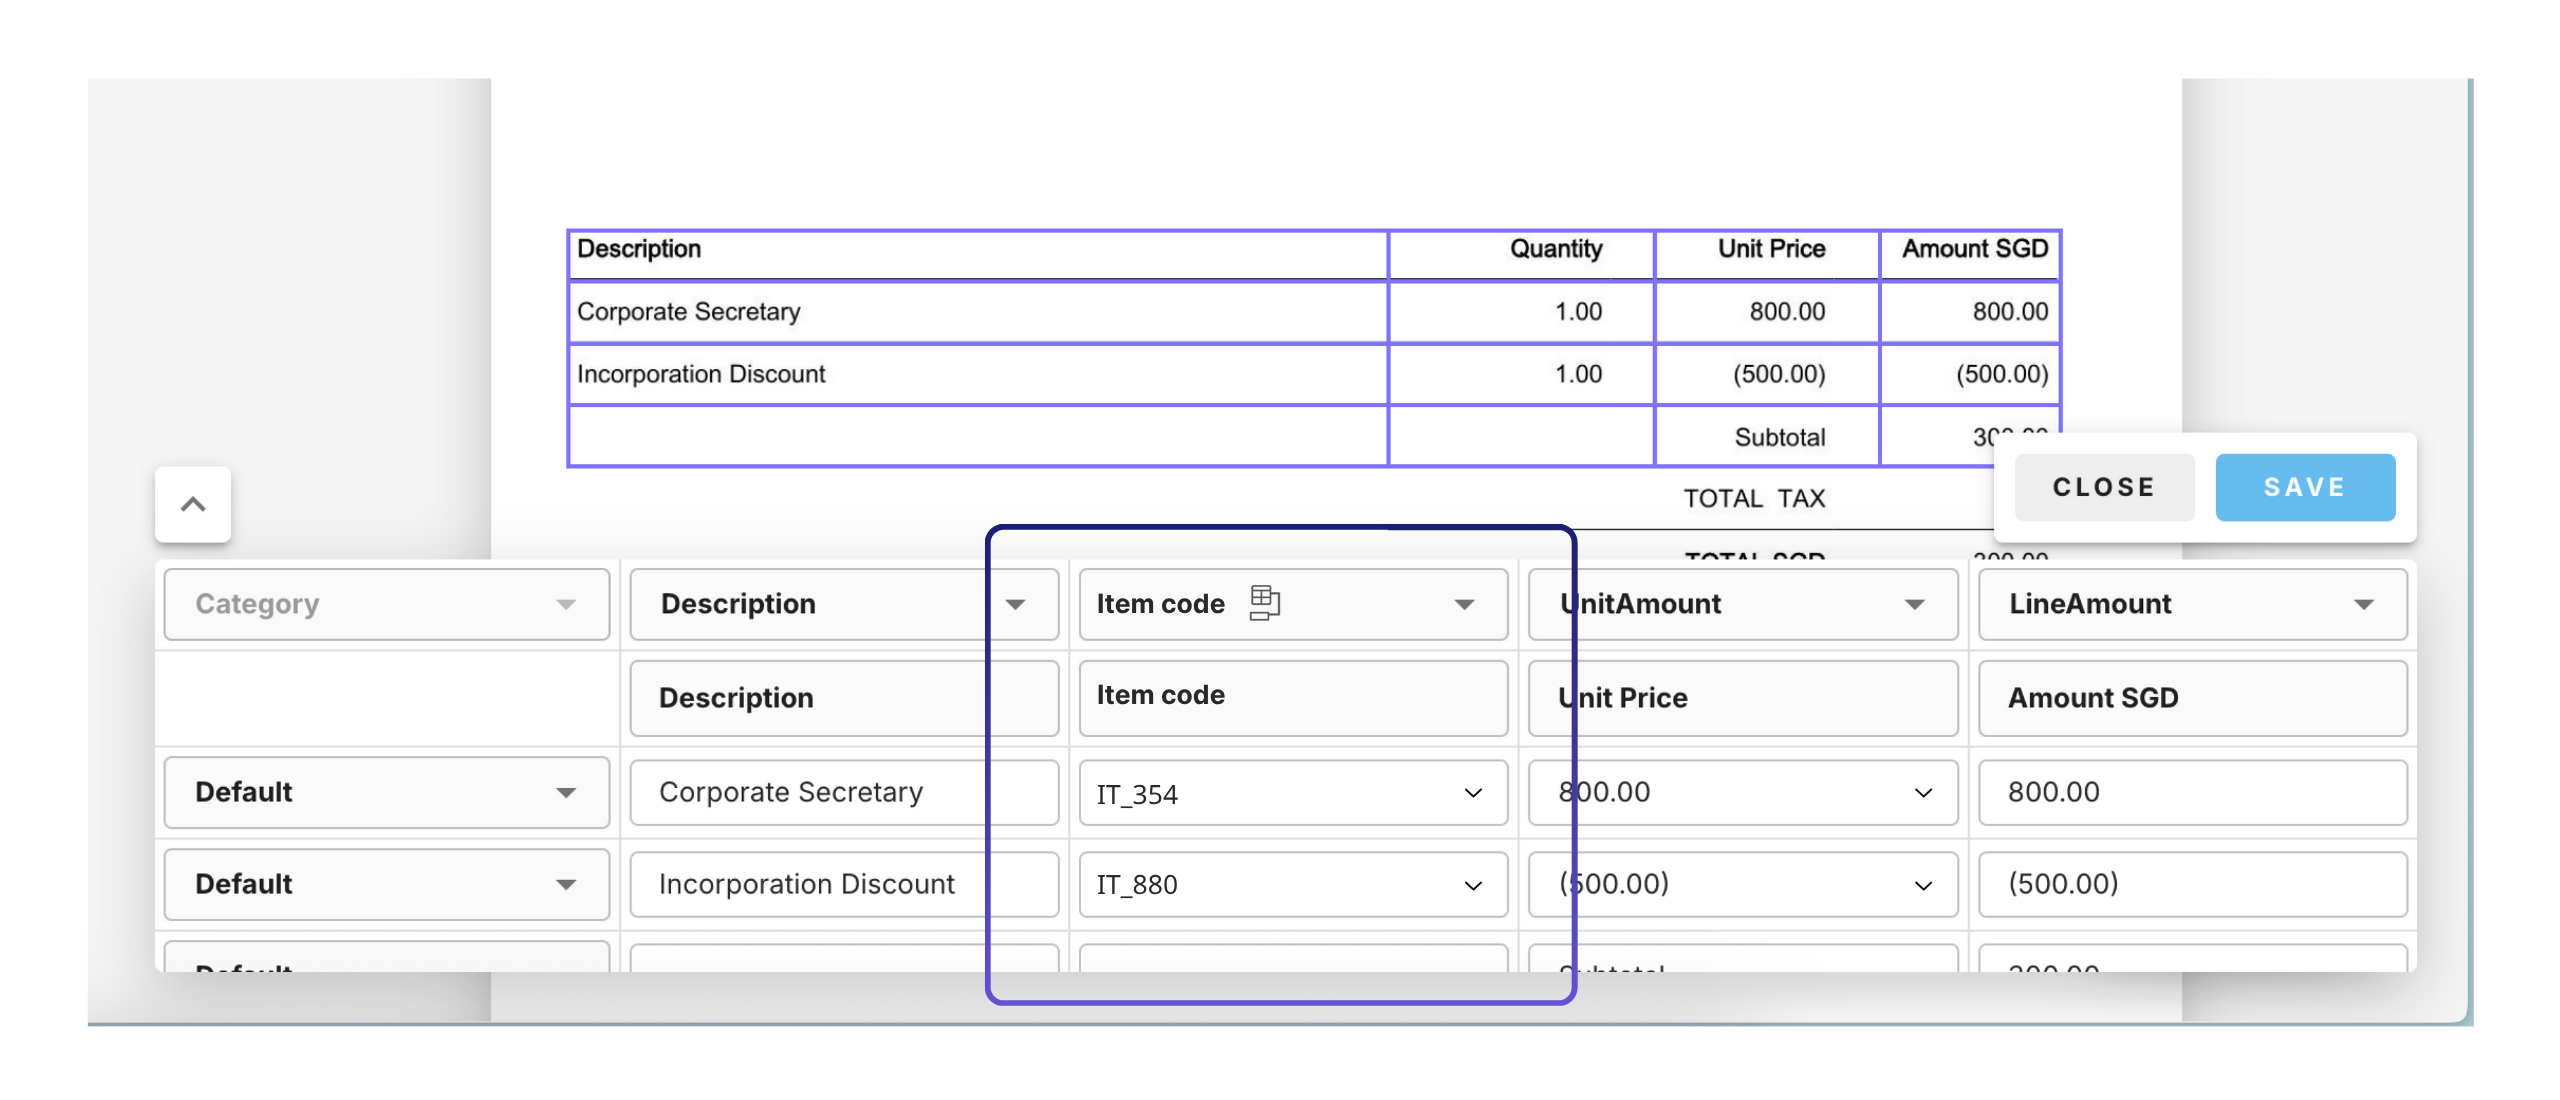
- Look for the Data Mapper icon. Fields populated or refined by the master data will have a small 'Map' icon. If you hover over it, a tooltip will say, "This field has been populated from the Master data".

3 . Refresh on Demand. If you manually change a value, you can click the "Refresh" button on the UI. This will re-run the mapping logic for all other fields that you haven't touched, keeping your manual changes intact

Master Data Sheet Specifications
- File Formats and Size: Supported formats for master data sheets are CSV, XLSX, and JSON. The file size limit is 350MB.
- Row and Column Limits: Each uploaded sheet is limited to a maximum of 200,000 rows and 25 columns to ensure optimal performance and processing.
- Data Types (Optional): The first row of an uploaded sheet can be used to specify data types for each column. This is optional, and if omitted, the system will automatically add a row and default the data type to 'String'. To enable semantic matching, the data type must be explicitly set to 'Text' by the user.
- Template: A template is available with an additional row for data types, but following it is not mandatory.
Data Matching and Logic
- Logic Application: For now, the data mapping logic is configured by the engineering team. To apply the logic, the "Enable asking AI to fill in the best values" toggle must be turned on in the queue's automation settings. As VMD is also live, we need to ensure that either VMD or data mapper is in use.
- Multi-Use Case Support: Data Mapper can be used for two main purposes: refining values using fuzzy matching and inferring values using other fields' captured data.
- Match Types: The system supports three types of matching logic:
- Exact Match: Compares values for an exact, case-insensitive match.
- Fuzzy Match (Best Match): Finds the nearest match and allows users to set a threshold for similarity.
- Semantic Match (Match by Meaning): Matches data based on its meaning.
- Refresh Functionality: A 'Refresh' button on the UI allows users to re-run the mapping logic. This will only update values that have not been manually changed by the user.
- Data Mapper Icon: Fields or table columns populated by the Data Mapper will show a small 'Map' icon. Hovering over the icon will display a tooltip saying, "This field has been populated from the Master data".
Configurations and Handling Mapped Data
- Multiple Matches: When the system finds more than one match for a given condition, users can choose to either leave the field blank or use the value from the first row in the sheet.
- Overwrite Extracted Value: Users have the option to either keep the value extracted from the document or overwrite it with the mapped value from the master sheet.
- Show/Hide Mapped Value: The option to show both the extracted and mapped values on the edit document page is not yet available to users.
API Endpoints
These are the available API endpoints to access and use the feature:
API Gateway folder
- List Sheets: List all uploaded master data sheets for an organization.
- Upload Sheet: Upload a new master data sheet.
- Delete Sheet: Delete a sheet from the account.
- Append Rows: Append multiple rows to an existing sheet.
- Delete Row: Delete a specific row from a sheet.
- Get Preview: Preview a data sheet.
- Download Sheet: Download a full data sheet.

%201.png)